When it comes to maintaining and troubleshooting a WordPress website, having the right tools at your disposal can make a world of difference. One such invaluable tool for developers and site administrators is the WordPress Debug Bar plugin. This powerful plugin provides a wealth of information that can help diagnose and resolve issues on your site. In this comprehensive guide, we’ll delve into how to make the most of the WordPress Debug Bar, with a special focus on capturing and using screenshots for troubleshooting.
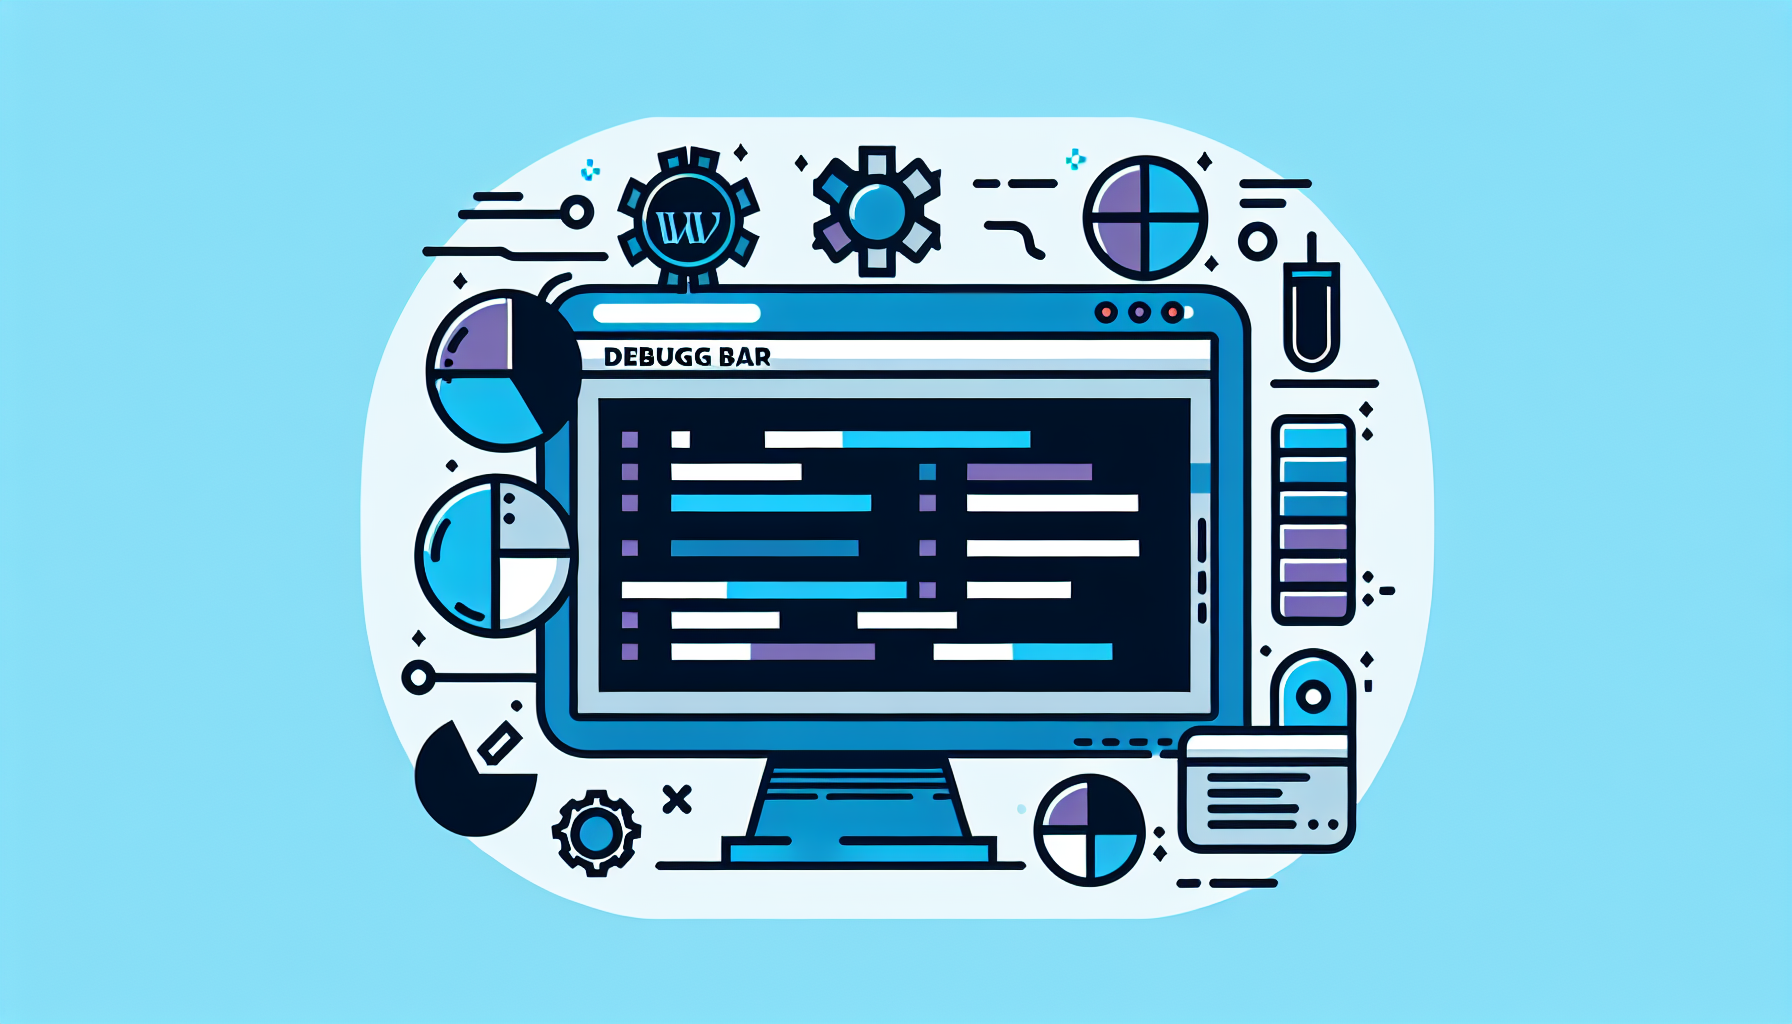
What is the WordPress Debug Bar?
The WordPress Debug Bar is a plugin that adds a debug menu to the admin bar. This menu displays useful debugging information about queries, caching, and more. It’s an essential tool for developers and site administrators who need to pinpoint issues affecting their WordPress sites. By providing real-time data on how WordPress is operating, the Debug Bar helps in identifying problems quickly and efficiently.
Why Use Screenshots with the WordPress Debug Bar?
Screenshots of the WordPress Debug Bar in action can be incredibly useful for troubleshooting. They allow you to capture specific moments when an issue occurs, providing a visual record that can be analyzed or shared with support teams or forums for assistance. Screenshots can also be used to document the state of your site before and after changes, serving as a valuable reference for future troubleshooting.
How to Capture Effective WordPress Debug Bar Screenshots
Capturing effective screenshots of the WordPress Debug Bar involves more than just hitting the print screen button. Here are some tips to ensure you get the most out of your screenshots:
- Include Context: Make sure your screenshots include enough of the screen to provide context. This might mean capturing the entire browser window or ensuring that relevant sections of the Debug Bar are visible.
- Highlight Issues: If possible, use image editing software to highlight areas of concern in your screenshots. This can help draw attention to specific errors or anomalies.
- Use Annotations: Adding text annotations to your screenshots can provide additional clarity, making it easier for others to understand the issue you’re facing.
- Take Multiple Screenshots: If the issue you’re documenting involves multiple steps or changes over time, consider taking a series of screenshots to capture the entire process.
Best Practices for Using the WordPress Debug Bar
While capturing screenshots is a valuable part of troubleshooting with the WordPress Debug Bar, there are other best practices to keep in mind:
- Enable Debugging Wisely: Remember to enable debugging on your WordPress site only when necessary, as it can expose sensitive information. Always disable debugging once you’ve resolved the issue.
- Explore Additional Add-ons: The WordPress Debug Bar has several add-ons that extend its functionality, such as Debug Bar Console and Debug Bar Cron. Explore these add-ons to gain even deeper insights into your site’s operations.
- Keep It Updated: Like any other plugin, keeping the WordPress Debug Bar updated ensures you have the latest features and security enhancements.
Conclusion
The WordPress Debug Bar is a powerful tool for diagnosing and resolving issues on your WordPress site. By understanding how to effectively capture and use screenshots, along with following best practices for using the plugin, you can ensure your site runs smoothly and efficiently. Remember, troubleshooting is an iterative process, and the more information you can gather, the easier it will be to identify and fix problems.
For those looking to further enhance their WordPress experience, consider exploring Build It For Me, where you can find innovative tools like the WordPress Copilot named Billy. Billy can assist with direct changes to your pages, generate blog posts, and create custom Elementor widgets, making site management and troubleshooting even easier.